Starter Car Detailing Products: A Beginner’s Guide to Keeping Your Car Pristine!
The good old-fashioned bucket and sponge have changed a lot over the years, but one thing will never change, and that is the love and joy you get from seeing your car or any other vehicle in tip-top shape. New cars always seem to have that extra wow factor, and then, in a flash, the sparkle just vanishes, making every other car on the road look the same. The only way to keep that shine and overall wow factor is to wash your car with the correct techniques and essential detailing products; without this, swirls will dull the paint and chemicals will damage the trim.
That’s a simplistic view of car detailing; there’s more to it than just making the car look its best, which we will delve into. Let’s start with something that will be important to all of us in the future: the car’s resale value. No matter how many miles or services your car has received, if it appears worn out, it won’t retain its value or attract potential buyers. As many know, a car’s value depreciates most rapidly in the first few years. Therefore, it makes sense to keep your car for a little longer to maximise its value. The benefits of car detailing not only increase the end value, but they also improve the longevity of that “new” car look.
Two other factors easily overlooked that detailing cars offers are safety and pride, maybe even more important than just looks. A cleaner car reduces rust, component failure, and improved visibility, and by standing out more, hopefully reducing minor car park dings, it’s difficult to argue you didn’t see the car when it’s the shiniest on the road. Being proud of your car and the passion you show in its care is likely to be one of the most expensive things you ever purchase. This satisfaction will go a long way and maybe even flow into other parts of your life.

The Basics
We will go through the beginner car detailing guide and some of the best car maintenance tips. The sensational six are the most basic car detailing products available.
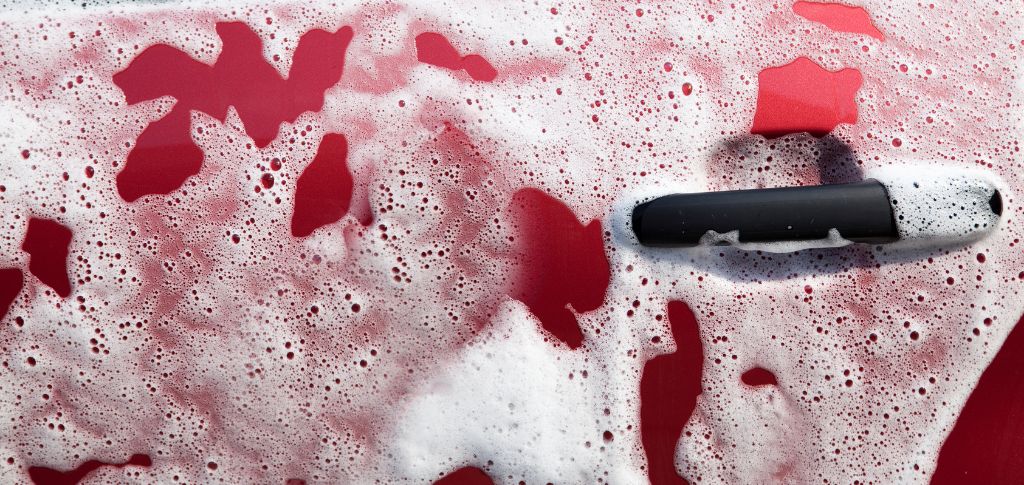
- Snow Foam… The original pre-wash used to get the loose grit and grime off the car before any hands-on contact was made, significantly reducing swirl marks. Snow foam is better than just pressure washing off the dirt as the cleaners loosen and engulf the dirt, pulling it off the car.
- Car Shampoo… The staple of any car wash, known to some as car soap, is typically a gentle cleaning solution aided with a wash mitt and two buckets. It shifts the remaining soft grime away with a little agitation on the car’s exterior.
- Wheel Cleaner… The alloy wheels are arguably the part of the car that gets dirtiest the quickest. Using a specialised wheel cleaner is required to remove the brake dust and heavier buildup of grime. Normal soap will remove the top layer, but brake dust stuck directly to the wheel needs stronger cleaners.
- Glass Cleaner… For added safety and a real finished look, you need streak-free, clear windows and mirrors. This can only come from a quality glass cleaner. I’m afraid to say that a normal house window cleaner just doesn’t have the power to deal with road dirt.
- Interior Cleaner… When using your car, where do you spend most of the time? The interior of a car is very much overlooked when detailing, but a quality all-purpose interior cleaner can take your experience of enjoying your detailed car to a new level. Now you can love looking at your car and being inside it.
- Microfibre Towels… Ditch the chamois and rags; all they are doing is scratching and smearing. Soft, quality microfiber towels will, depending on the type, assist in drying, polishing, protecting, and maintaining a detailed car’s overall appearance.
Exterior Essentials:

The sensational six you use on every wash, but there are a few more to go into detail. Again, this is a beginner’s guide, so we won’t drill down to every single product and type but rather give you the broader benefits and importance of these exterior detailing products, the ones that will give you the biggest bang for your buck.
- Clay Bars… An added step for the deepest contamination removal. Available in clay bar kits for simplicity, they remove in-ground dirt from paintwork and glass that shampoos and other cleaners couldn’t shift, restoring the glass-like feel to your paintwork. If used prior to polishing and protecting, they can save hours of work, and you will achieve an overall better performance from these other two stages.
- Polish and Compounds… This field is significantly more complex than most other product categories. Let’s keep it simple: why do we use them? 1. Correct paint imperfections like swirls and scratches. 2. Improve reflection, or “gloss levels.” Which one do I need? Polish or compound are the same thing, but broadly speaking, compound is for machine polishing, and polish is a catch-all term. Think severity of paint defects and application type and match an according polish/compound.
- Waxes and Sealants… The paint is protected! The choice of which type and what brand of product is up to you, as longevity, cost, and application all factor into your decision. Whichever is chosen, it is important to understand that the wax or sealant is there to keep your car cleaner for longer and then make it easier to clean when the time comes. Whichever is chosen, they both reduce the chance to add swirls and dull the paintwork.
- Tyre Dressing… Love it or hate it, you can’t deny that a dressed tire can really finish off the look of a detailed car. Tyre dressings have moved on in the past few years, reducing the dreaded fling, and with modern ceramic-infused dressings, we are starting to get tire dressings that last.
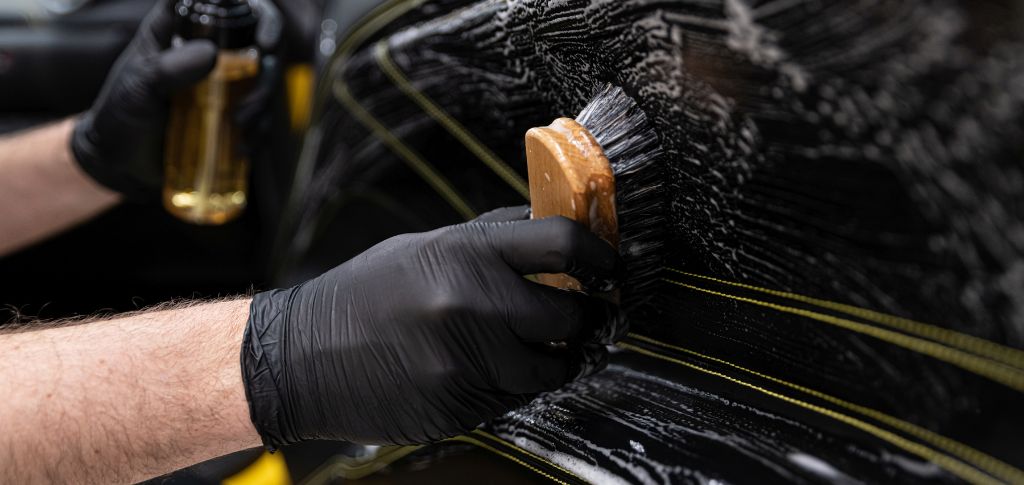
- Detailing Brushes… Like microfiber towels, quality detailing brushes will take your detailing game to another level. The brushes are designed to reach every crevice where dirt accumulates and remove it. There is nothing worse than rinsing your car to find a stream of dirt coming from a badge or panel joint. Remember, like towels, there are specific brushes for specific jobs. Wheels, tires, grills, and soft tops, just to mention a few.
Interior Detailing Essentials:

Interior detailing is normally a case of less is more, keep this process simple will prevent the build up of unwanted dirt. Regularly cleaning is the name of the game on this one, you’ll be surprised at how quickly the interior can get dirty if left unchecked. That extra care into the detailing side and not just a vacuum will prolong the newness of your cars interior.
- Upholstery Cleaner for Leather and Fabric… As we mentioned before, you have to sit in your seat to drive it, even with autopilot. It is essential to keep the interior of your car clean, especially the carpets and seats. Dirt will affect both leather and fabric over time. This can lead to tearing and fading quicker than expected; the direct sunlight simply destroys the materials at an accelerated rate. A fabric protector or leather conditioner should really be used in conjunction with the cleaner to really provide the best longevity for your car.
- Vacuum, Extractor, or Steam Cleaner… They have slightly different uses for each, but for the fundamentals, they will all shift more dirt from a car than just cleaning alone. Vacuum: dry, loose dirt, which builds up the quickest and is the easiest to remove. Extractor: for deeper inground dirt, mainly in fabrics, it allows more cleaner to be used. Steam Cleaner: better for degreasing and better for hard-to-reach or clean areas such as roof liners or seat sliders.
- Dashboard Protectors… A protector is also good for door cards and centre consoles; it reduces UV fade and static buildup. A 5-year-old dashboard, if protected correctly, can look as good as it did when it rolled off the production line.
- Air Fresheners… Everyone loves that new car smell, but it does fade. Keeping the interior clean reduces odours, and adding your personal favourite air freshener enhances the experience. Remember, though, that you will get used to the scent, so swap them around every so often. Keep the car smelling even fresher with an odour eliminator to tackle some of the root causes.
How To Use
We won’t give you in-depth training on “how to” here. There is simply too much to talk about, but as the basics of car detailing go, we can give you something to get you going and learn from.
How to detail the exterior of your car step by step: the basics: Each step should be followed by a rinse-down of the external areas.
- Step 1: Wheels. Always start here. Use the wheel cleaner and wheel brushes to get those alloys clean.
- Step 2: Pre-wash: Remove as much of the dirt as possible before any hand contact is made with the car.
- Step 3: Car Wash Shampoo: For the little bit of agitation needed for that final soft grime, use a mitt and 2 buckets with warm water. Use straight lines and soft pressure.
- Step 4: Clay Bar Kits: Not required on every wash, but follow the directions on the box for a glass-like feel, removing all contamination.
- Step 5: Microfiber Drying Towel: Remove as much water as possible, letting the towel absorb it rather than trying to rub it away. Maybe even upgrade with a car dryer for those impossible-to-dry areas or a water filter for anything left behind, not leaving spots.
- Step 6: Polish or Compound: however deep you want to go, go down the rabbit hole with this one, adding gloss back to the paintwork and improving overall reflection.
- Step 7: Make the glass pop, using a quality car glass cleaner for a smear- and streak-free finish.
- Step 8: Waxes and Sealants: Protect your hard work and, of course, the car’s paintwork with your choice of product. Just follow the instructions carefully and repeat as necessary.
- Step 9: Tyre Dress: Complete the look and dress those tires. Okay, this one is a little bit of a personal preference, but it does get you closer to the perfect detail.
How to detail the interior of your car step by step: the basics, follow the directions of the products chosen, and use fresh microfibers for all surfaces.
- Step 1: Brush and Vacuum: Get rid of all the dry, loose dirt before getting anything wet. This will be much easier with a combination of brushing and dry vacuuming.
- Step 2: Use upholstery cleaner for leather and fabric—chemically clean all surfaces. Match the equipment and type of cleaner to the surface; there is no particular area to start with, but zone off the car in your head so you don’t miss anything. Microfibers and brushes will help get into all those tight areas. Always wipe away residues; this is where a steamer or extractor can be a massive help.
- Step 3: Protection: Ensure you keep the levels of protection on the dashboard and leather fresh; don’t leave it too long between applications, as these surfaces can get some real wear and tear.
- Step 4: Air Fresheners: Add your favourite scent from Lemon Sherbet, Berry Blast, or even New Car Smell. All for that finishing touch.
Top Detailing Tips

There are just a few top tips from Ultimate Finish that you may have heard of before, but it is always best to be reminded of them. Use this as a quick cheat sheet to save you time and money while getting better and better results.
Common Mistakes: There are many more that can fundamentally come down to these
- Rushing: Don’t rush; something will go wrong, and you’ll spend more time fixing that.
- Don’t be too fussy: Pay attention to everything, but missing most of the car to fuss over a small area is not beneficial.
- No scrubbing: Unless it is fabric, there is no need to scrub; let the cleaners do the work. Think glide!
- More is not always better: Use the correct dilutions, and don’t overdo anything.
- Not having a plan: Knowing the order in which you are going to do things.
- Not having products ready: This will cause you to rush; be prepared.
Maintenance Tips: Again, there are so many little tips for certain things, but this is a good starting point.
- Get prepared: You don’t want to be trying to find a product when you need it.
- The process: Always follow the same routine, only removing parts that are not required for every wash.
- Less contact: This means fewer swirls, think does that area need touching now?
- Polish less: If you have to polish every time the wash isn’t done correctly.
- Protect more: If you can apply wax or sealant to every wash, it won’t hurt to put more protection on.
- Enjoy it: Don’t think of detail as a chore, but something with an end result.
How often should I do things? As often as you want, but again, remember the common mistakes: no rushing or fussing. So, if you don’t have time to do it, don’t do it, be it just a wash or a detail. Less can sometimes be more in the preservation of the overall gloss of the car. Right now, you’re ready to get detailed! Like every skill, detailing is one you very much learn by doing; if you want to get better, you better get going. I’ll leave you with a couple of quick reminders for your essential car detailing products.
The process is key.
Common mistakes: don’t do them.
Follow the instructions for each and every product.
It’s not necessary to carry out every procedure each time.
Finally, be proud of your work—it will improve and we all start as beginners.

